Facebook Forms
Create a custom View
The next step is to create a View of the form that contains only those fields we need to see. This is very similar to creating Views for use in Form Tools, with one exception: some data won't be relevant. When a user visits the form, there isn't a submission already created, so there's no point including any of the Core fields: Submission ID, Submission Date, Last Modified Date and IP Address. If your View includes those fields, they'll simply appear blank!
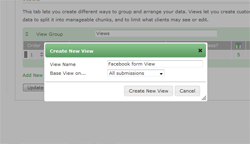
To create a new View, just go to the Edit Form -> Views tab, and click "Add View". In the dialog window that appears, create a new View based on the existing "All submissions" View, as per the screenshot above.
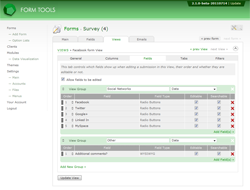
On the Edit View page, go to the Fields tab and configure the View fields like in the second screenshot. Note we've created the Views in two groups: "Social Networks" and "Other".
A word on Tabs
Form Tools lets you organize your field Views into tabs. But for our Facebook forms, this isn't relevant: the form will always be listed on a single page.
So bear in mind that if your View fields are grouped into tabs, they will be ignored on your Facebook form and just listed sequentially.

