3: Test Submission
Form Management
The test submission page is where your form first makes contact with Form Tools. It works by waiting for a submission sent from your form that contains all the fields you want stored. Form Tools then uses this to build a custom database table to house all future form submissions. There are a lot of benefits to building the database table this way, including: reducing the likelihood of errors for entering form field names, reducing the amount of configuration required and ensuring that your form and Form Tools are correctly connected.
Exactly how this page looks again depends on the submission method you picked on step 1.
Test Submission: Direct / POST forms
Sending a direct test submission is very simple. Honest.
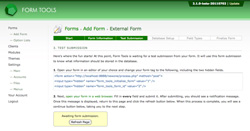
- Cut and paste the HTML in the textarea and replace your own <form> tag with it. The HTML will look something like this: If you indicated that this form contained a file upload field, you will see an extra enctype="multipart/form-data" attribute. Note: if your existing form tag has other attributes like name or onsubmit, feel free to add them to the generated code. The important thing is that the method is set to POST and the action path is correct. The form_tools_initialize_form hidden field tells Form Tools that the form data being submitted is to be used for the test submission. The form_tools_form_id hidden field is a unique number generated by the program to differentiate between the various forms.
- Now, return to your form in your browser and after refreshing the page, fill in all fields and submit the form. Return to Form Tools and click the Refresh button in the page, then continue to the next step.
Test Submission: API
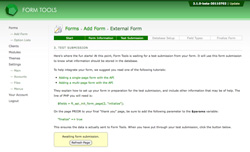
Configuring your form to use the API to submit your test submission is covered in the following tutorials:

