Form Builder
Publishing your First Form
Publishing your forms with the Form Builder is extremely easy. This page explains how to create and publish a form from scratch. We don't go into any great detail, but hopefully it's enough to get you started and see how the whole process works.
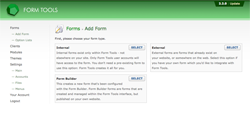
| 1. | Log into Form Tools as the administrator. There, click on the "Add Form" button in the left navigation. You should see a page that looks like the screenshot to the right. Click on the Form Builder option. | |
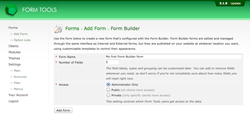
| 2. | On the next page, enter a name for your form - call it whatever you want, but make it descriptive. By default, all published forms will use that value as the page title. | |
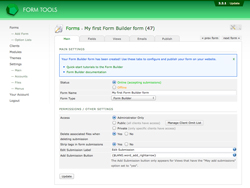
| 3. | After you submit the form, you will see a page like the screenshot to the right. The five tabs let you control everything about your form: what fields should be in (The Fields tab), what order they should be placed and how they are grouped (the Views tab), whether you want email notifications set up (Emails tab) and where you want them published on your site (Publish tab). | |
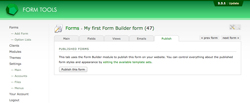
| 4. | Ordinarily, at this point you'd want to go to the Fields tab to customize what fields you want to appear in your form, and what field types they should be. But for the sake of this tutorial, we're going to skip that step and publish the form right away. Click on the "Publish" tab: you should see a page like the screenshot to the right. | |
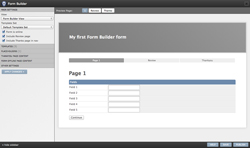
| 5. | Click the "Publish this form" button. It will open up the Form Builder window. This is where you do all the customization of the form: what Template Set you want to use especially. | |
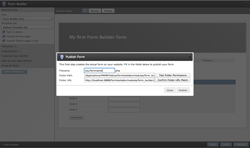
| 6. | Click the Publish button. This will open up a dialog as shown in the screenshot to the right. Enter whatever filename you want and click "Publish". This will actually create the form on your site. | |
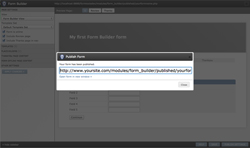
| 7. | After publishing the form, assuming there are no problems (such as permissions), you will see the URL of your form listed. Click the "Open in new window" link. | |
| 8. |
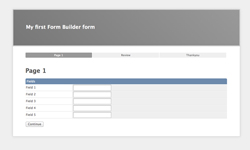
And there's your published form! At this point you'll want to start customizing it.
For that, you'll probably want to visit the following locations:
|
